posted by Androsch
Hi!
I tried some recently acquired Photoshop skills on some miniature pictures. I wanted to extract them from the background and did some general adjustments.
First one, Legolas:
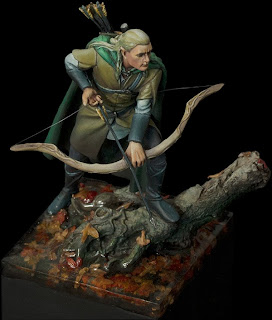 |
| new |
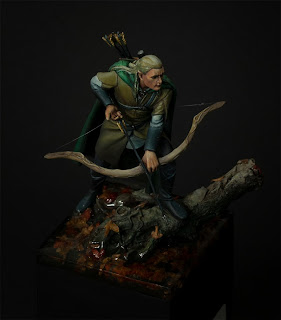 |
| old |
In this case the adjustments turned out quite nicely. But I noticed I should have used a longer exposure, because their was a lot of noise in the original image (or maybe I just had a bad ISO setting.)
Second, Morgaines Huntress:
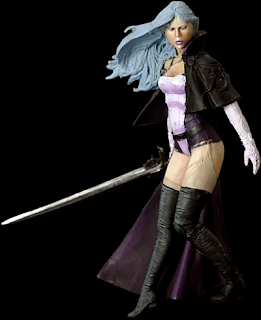 |
| new (check last post for original) |
Here I used Morgaines jpeg image. This is generally a bad idea, because every time you save as jpeg, you loose quality. Nevertheless I think Morgaine already used too much jpeg compression on the image. There are a lot of jpeg artifacts in it. The adjustments brought out the colours, but also increased the noise. I'd like to do that again on the final images. This is an exciting figure after all!
Here's a short tutorial for extracting images:
I used the hard way in this example, there are fancier extraction tools in photoshop, but this method is very exact. (I have a German version btw, so sorry for the expressions)
Use this tool in path mode (in German it's cald "Zeichenstift-Werkzeug"):
This should be on the right hand side of your screen.
zoom in and click your way around the border of the model. you can use SPACE + LEFT MOUSE to scroll.
Take your time here. ;)
With your last click, you must close the path. Now there's a marking around your selection:
Now right click and chose "generate selection". In german it's "Auswahl erstellen".
The next step might be the most important. Before you copy your selction you have to do a soft selection border or the picture will look flat. In German it's "Weiche Auswahl Kante". You can find it here (Maybe in English: Selection -> Improve Border):
Next, set your soft border. The right setting depends on the resolution of the image, but 2px is a good start.
You can set the colour of your background for a preview too. One more tip: If you want a black background in the end, use a dark background for your photograph! Otherwise you'll get a silly halo.
Click OK and cut or copy your selection and paste it into a new file (there's many way form here, but I like to do it like that). Your selection is a new layer now. Choose the background layer and make it black with the filling tool on the left.
Now you can use more filter and effect, crop the image and so on. But I'll talk about this some other time.
Oh, here's the final image by the way... ;)
(I did an unsharpen mask and rezised it to 600px wide)
Hope this was interesting for you,
see you next time!
Androsch


